


How to Paint Farmhouse Furniture
Restoring furniture has become a favorite pastime for many people.
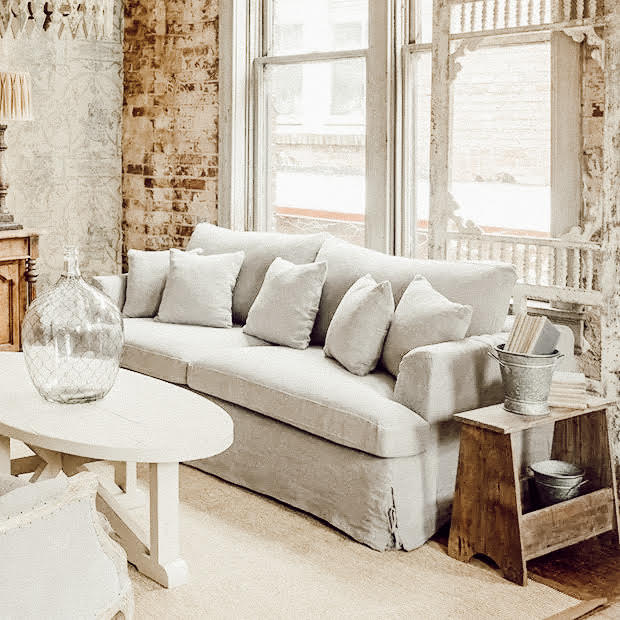
Learning how to paint farmhouse furniture is a great way to bring an artistic, personal touch to your living space. There are some things you will want to consider while ensuring you maintain an authentic farmhouse feel.
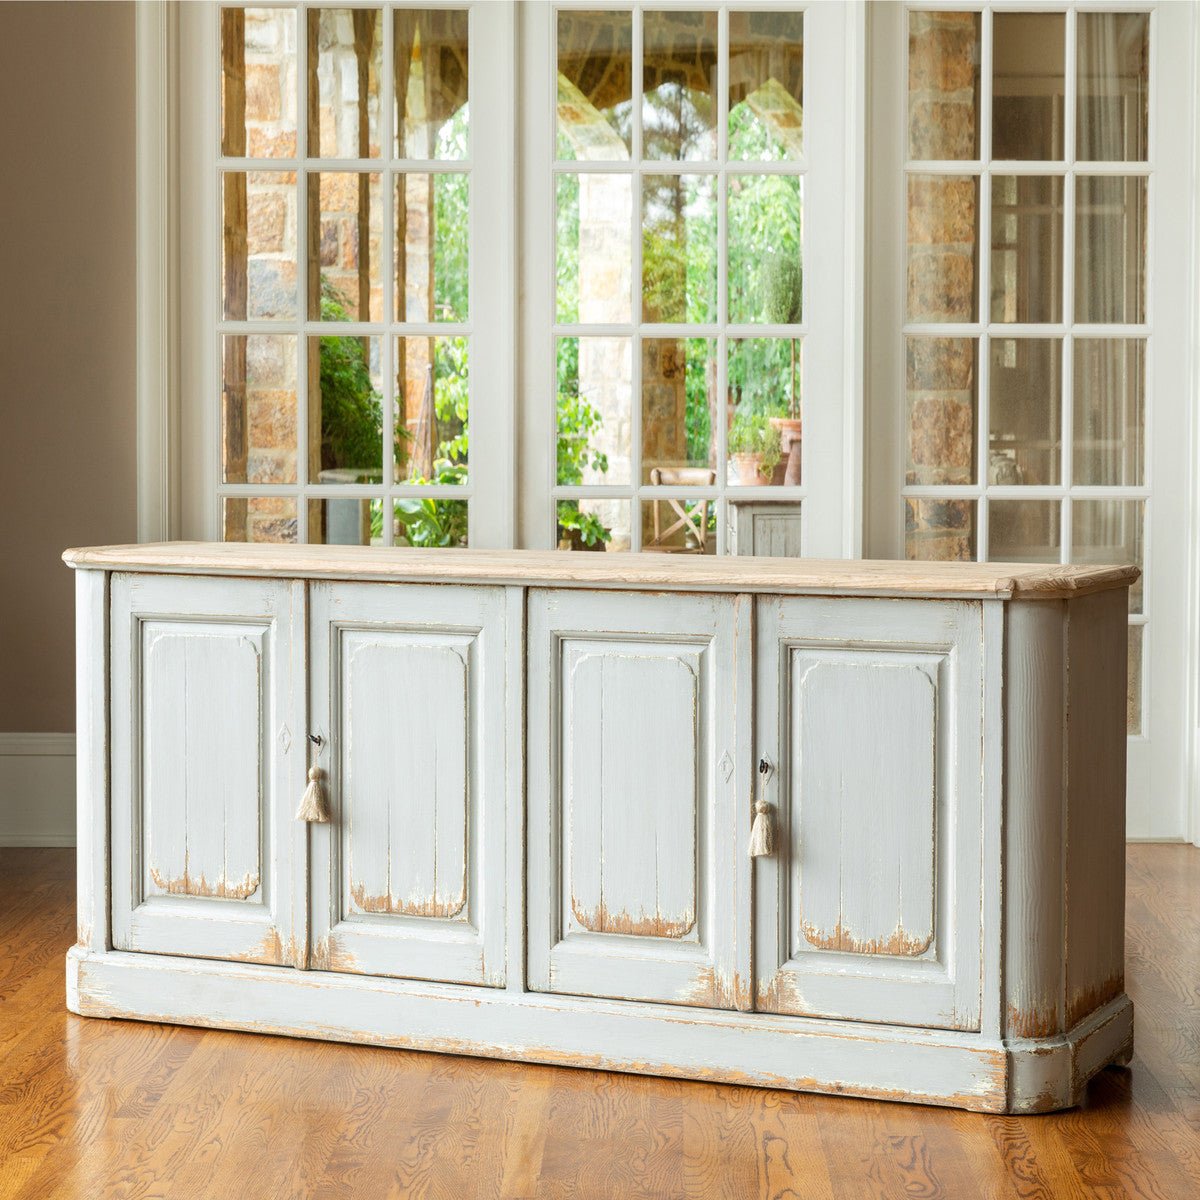
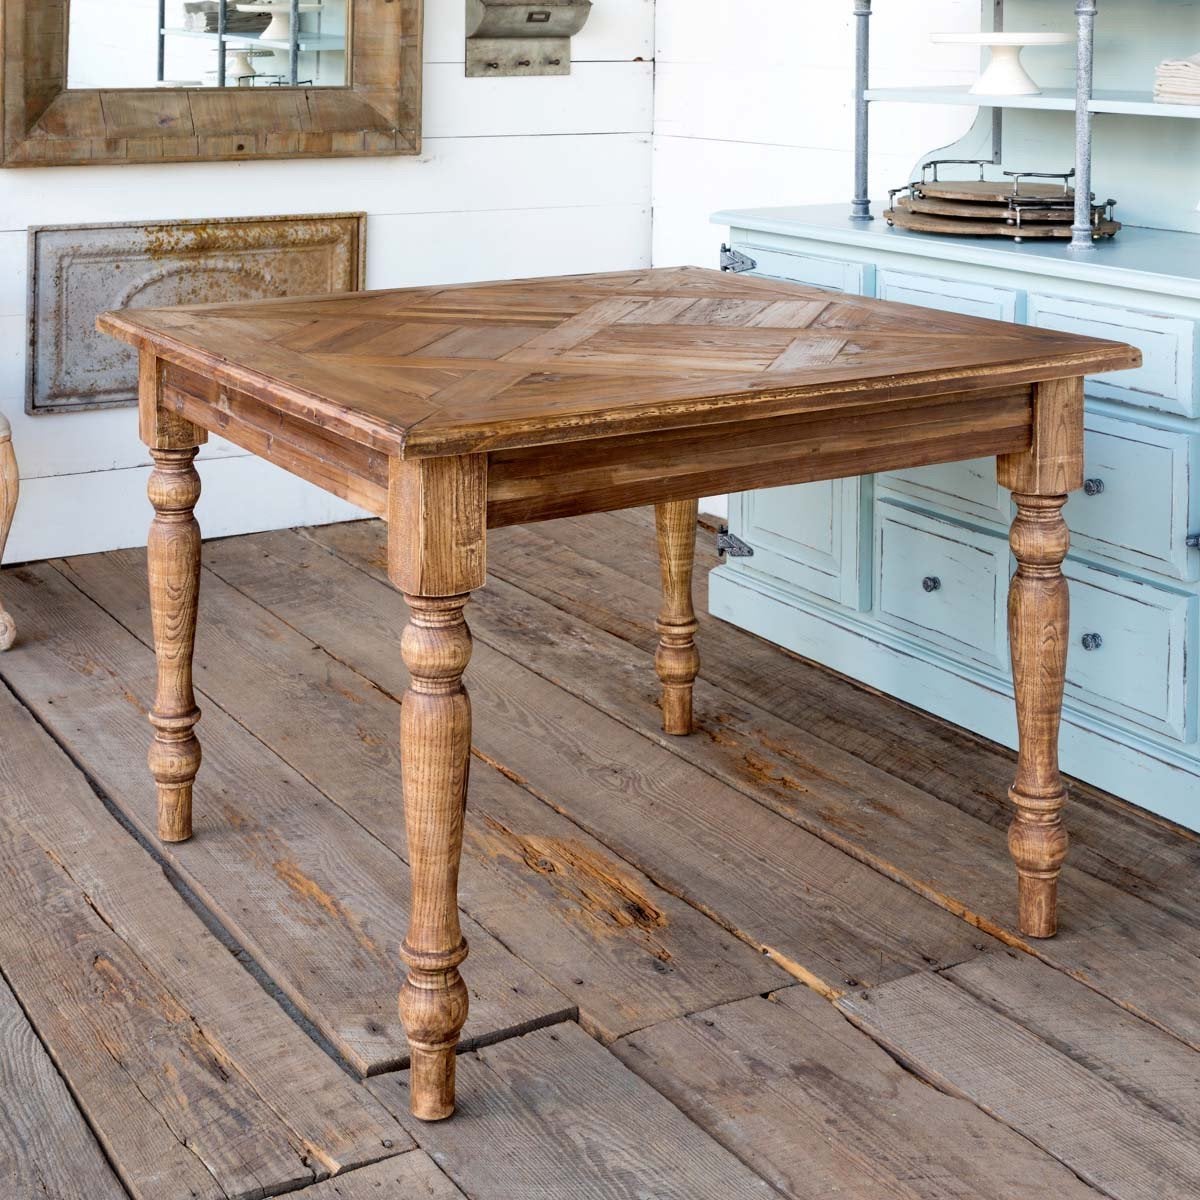
What Is Farmhouse Style Furniture?
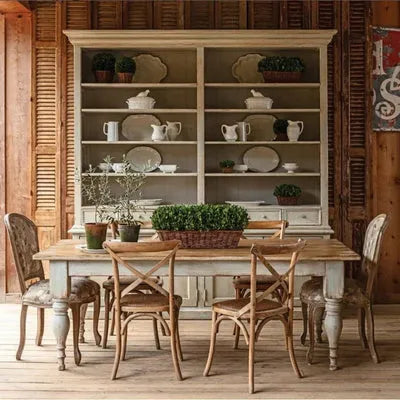
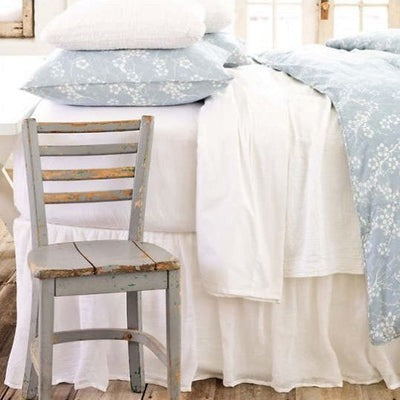
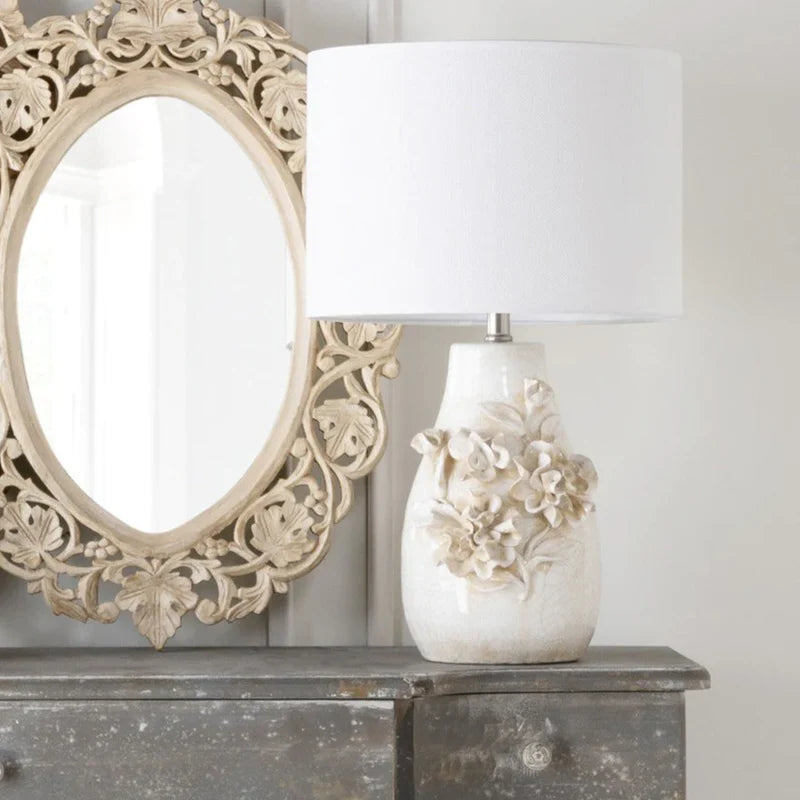
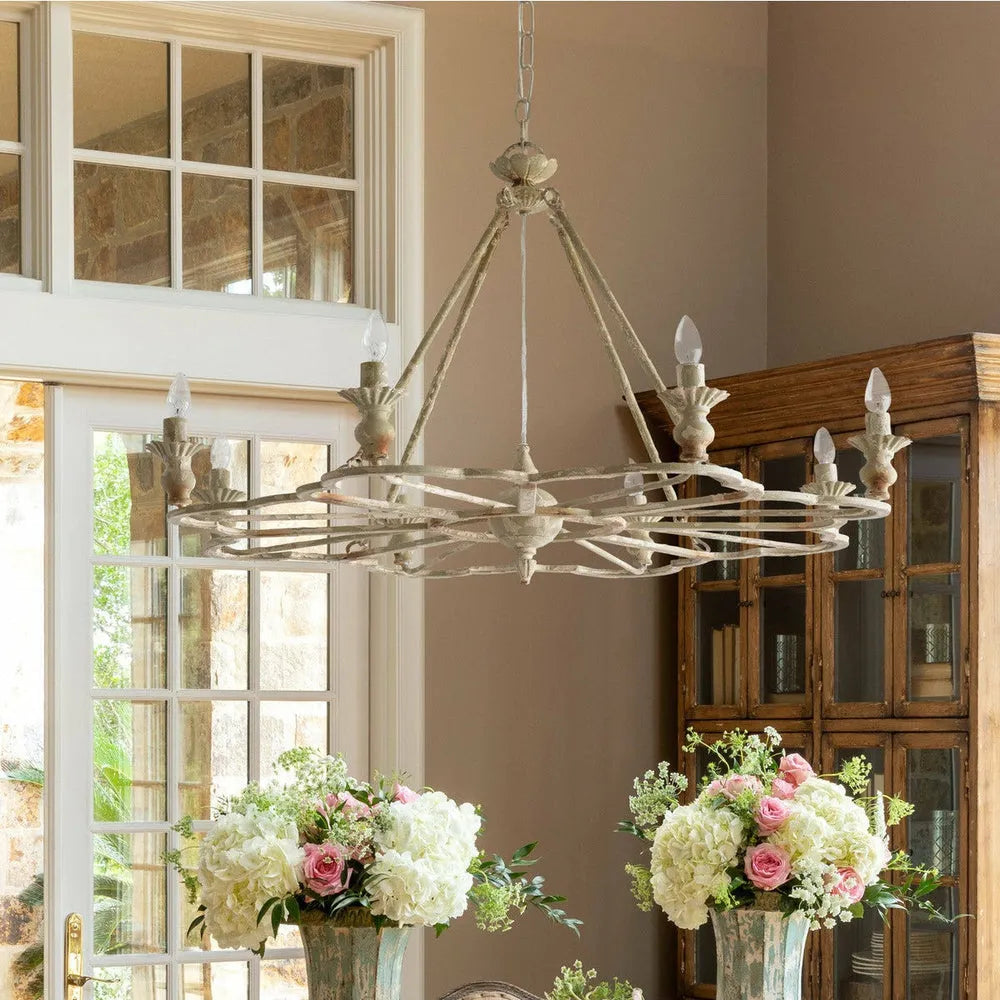
The farmhouse design style focuses on simplicity and rustic charm that provides comfort. Most of these pieces provide a practical aspect to the home. While it carries with it the aesthetics of rural architecture, it has become a modern style, offering a cozy and stylish feel to your space.
How to Give Your Furniture the Farmhouse Feel
Painting farmhouse furniture does not require a lot of expensive materials, making it an accessible way to add style to your home. To gain the most authentic farmhouse style piece of furniture, you will want to gather the following materials (many of which you may already have at home):
- Paintbrushes
- Latex paint in the color of your choice
- Plaster of Paris
- Warm water
- Sandpaper
- Steel wool
- Decorative wax finish
- Rag
As you can see, this project does not break the bank! You can start creating farmhouse-style furniture with even the tightest budget.
Directions for Painting Your Furniture
These easy-to-follow steps will have you creating a beautiful farmhouse-style piece that you will enjoy for years to come! Before starting this project, make sure you have a nice, ventilated workspace, such as a garage or driveway if it’s a nice sunny day. Cover any surfaces with plastic to ensure they remain safe from damage through the steps in this process.
Step 1 – Finding a Piece to Paint or Restore
Choose a piece that you will enjoy painting that will be most cohesive with the farmhouse style. You can select a piece that is already in a farmhouse style to restore or choose an item you want to convert to this style. You may want to pick a family heirloom or search for some furniture at a local flea market.
If this is your first-time painting farmhouse furniture, you may want to select a piece that does not have a lot of different angles or drawers, as these bring with them more detailed techniques. Once you see how easy it is to do, you'll probably want to do more! And with more confidence and practice, you may feel brave enough to try larger or more detailed projects.
Step 2 – Thoroughly Clean Your Item
Take the time to thoroughly clean your piece of furniture. Be sure to get every inch clean. Remove any grime, dust, sticky substances, or anything else that will make your piece bumpy or dirty. You may get by with just water and soap, but you may need a stronger cleaner. Sanding wood surfaces can also ensure smoothness.
Cleaning the furniture helps the paint stick to the wood and will save you time. This allows your piece to come out looking neat and clean.
Step 3 – Prepare Your Paint
You are going to make chalk paint by mixing 1 cup of latex paint with 1/3 cup plaster of Paris and 1/3 cup warm water. Once this is all blended together, you can move on to the best part!
Step 4 – Start Painting!
You will need to paint a few coats. The first coat will come out sheer; don’t fret! As you add more layers, it will become more opaque. The third coat should only be added in certain parts. Having spots with different coating layers is what gives it the distressed look that is a classic feature of farmhouse furniture.
Step 5 – Use Different Brushes
Using different brushes on different areas will create clean lines and allow you the detail needed for a high-quality piece. An angled brush is great for corners, allowing for more precise lines.
If you are working on a larger piece, you may choose to use spray paint or a spray gun. Be sure to wear a mask and that you do so in a space that is well ventilated and that will not be damaged by the paint being sprayed.
Step 6 – Now It’s Time to Sand
Use sandpaper to sand the corners and any raised areas of the furniture. Using steel wool will provide a different texture and feel. Adding these distressed areas brings the farmhouse style to life. Make sure you are selecting sections that would naturally be distressed, as this will give it a more authentic feel. Use your creativity to decide if you want a more distressed or a more modern look for your piece.
If you selected a larger piece, you may want to use a sander to save yourself time. Just remember to still sand the areas that would become naturally distressed through regular use. Also, make sure you wear safety goggles and a mask to protect your eyes and lungs from the dust that is created from sanding.
Step 7 – Wax Your Project
Use a paintbrush or wax pad to cover the entire piece in wax. You will then let it dry completely before moving on to step 8.
Step 8 – Buff the Wax
Once the wax is thoroughly dry, use a rag to make circular motions over the entire piece to buff the furniture. Take your time and go over each area slowly. Applying pressure will help your piece shine. Use your hand to check each part; if you find any tacky spots, just keep buffing until it feels nice and smooth.
Enjoy Your Hard Work!
Now you get to sit back and admire your work! Find a spot in your home that highlights this piece. It will become a talking point for all your guests. Just be mindful that they may ask you to make them their own farmhouse furniture! When done properly, this process is fun and rewarding. After you complete your first piece, you will probably want to do more. Just go back to step 1 and have another go! As you gain more confidence and complete more pieces, you will be able to start adding some personal flair.

Leave a comment
This site is protected by hCaptcha and the hCaptcha Privacy Policy and Terms of Service apply.